Once you start growing your own herbs, you quickly get used to reaching out the back door and adding fresh herbs to everything you cook. But if your herbs are growing outdoors, you can only do that while the weather is warm. When autumn arrives, you need a plan — and drying your herbs is the answer.
Drying your own herbs also means you know exactly what you're getting. Commercially dried herbs have often been sprayed with pesticides and other chemicals. When you grow and dry your own, you have complete control over what goes into your food.
Why Dry Your Own Herbs?
1. It's Much Cheaper
Drying herbs yourself is significantly cheaper than buying bottles of herbs from the supermarket, especially once you're growing perennial herbs. A plant like oregano comes back strong every year — after the initial planting, you'll never need to buy it again. Even if you don't grow your own, fresh herbs from a farmers' market are often a fraction of the cost of the dried equivalent in a shop.
2. Better Quality and Flavour
Home-dried herbs retain far more essential oils and flavour than commercially dried herbs, which may have been stored for months before reaching the shelf. The flavour difference between home-dried and shop-bought herbs can be remarkable.
3. You Know What's In Them
When you grow and dry your own herbs organically — without pesticides or chemicals — you have complete confidence in what you're adding to your cooking and teas.
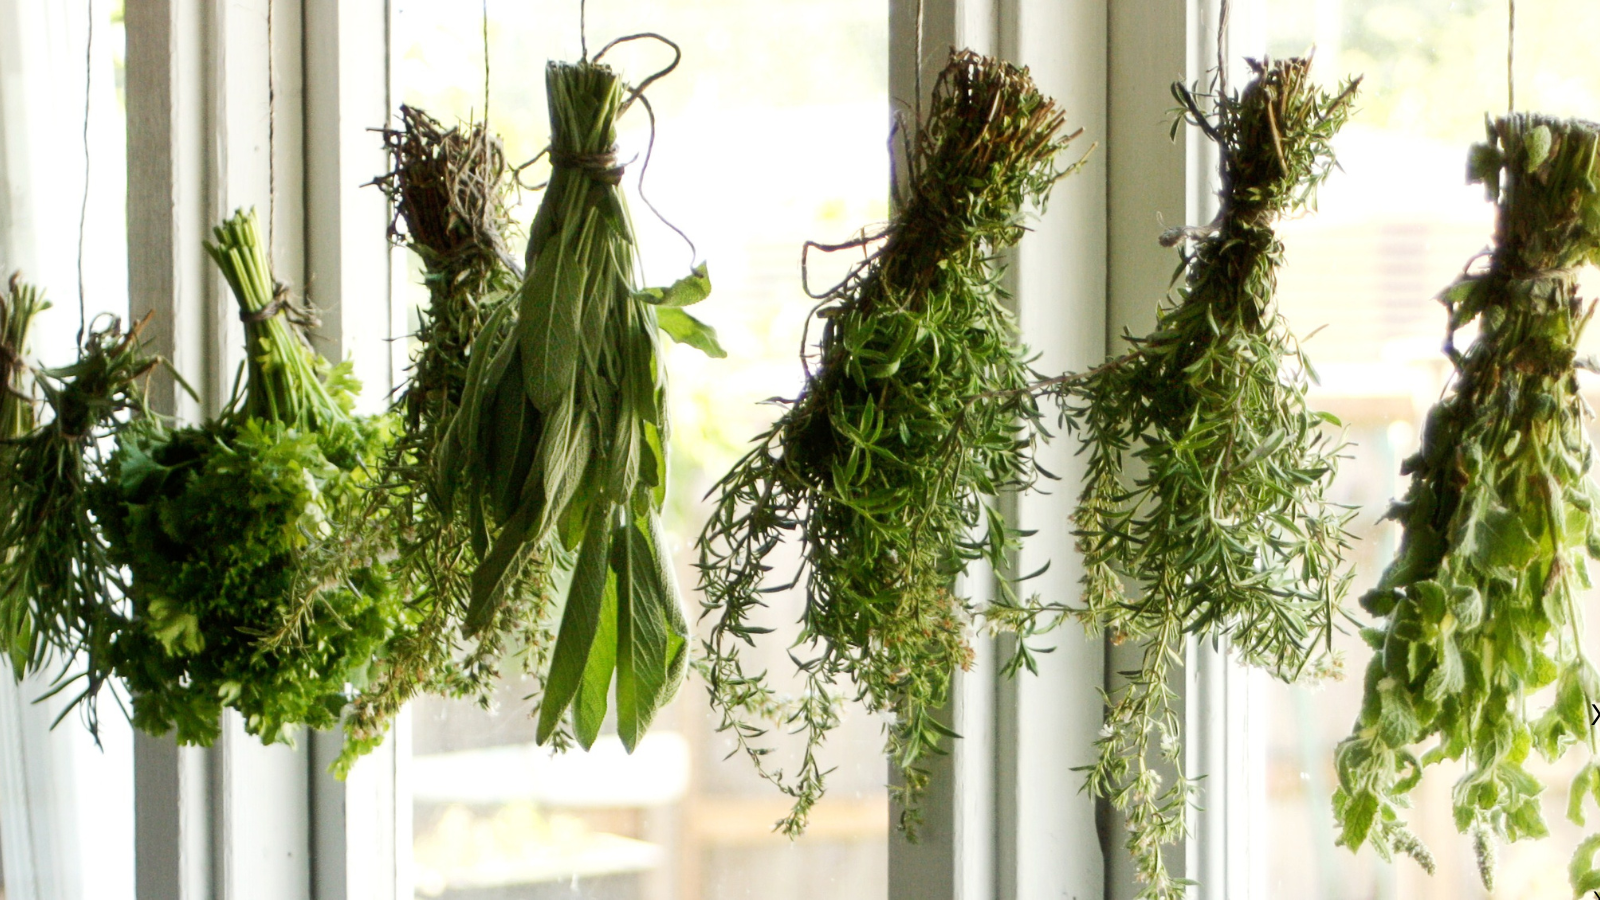
How to Dry Herbs by Hanging
- Harvest in the morning after the dew has dried but before the heat of the day — this is when essential oil content is highest
- Gather stems into small bunches of 5–10 stems. Smaller bunches dry more evenly and are less prone to mould
- Secure the bunch at the stem end with a rubber band or string. A rubber band is useful as it contracts as the stems shrink during drying
- Hang upside down in a warm, dry, well-ventilated spot away from direct sunlight. A kitchen, airing cupboard, or shed all work well
- Allow 1–3 weeks to dry fully. The herbs are ready when the leaves crumble easily between your fingers
- Store in airtight containers — glass jars are ideal. Label clearly with the herb name and date
💡 Tip: Herbs with lower moisture content — such as thyme, rosemary, sage, oregano and marjoram — are the easiest to dry and give the best results. Higher-moisture herbs like basil and chives are better preserved by freezing.
Other Drying Methods
Oven drying: Spread herbs on a baking tray and dry in the oven at the lowest setting (around 40°C/100°F) with the door slightly ajar. Takes 1–4 hours. Watch carefully to prevent scorching.
Microwave drying: Place a small bunch between two sheets of kitchen paper. Microwave on low in 30-second bursts, checking frequently. Takes 2–3 minutes total. Good for small quantities.
Dehydrator: If you dry herbs regularly, a food dehydrator is a worthwhile investment. Consistent low heat produces excellent results.
Best Herbs for Drying
- Excellent for drying: Thyme, rosemary, sage, oregano, marjoram, lavender, mint, bay leaves
- Better frozen than dried: Basil, chives, parsley, dill (these lose significant flavour when dried)
Enjoying Your Herb Growing Journey?
Download the free Wise Gardener's Starter Guide — five easy steps to your first harvest.